Getting Started
Keep It Simple!
When setting up an EC SD-WAN for the first time it is important to keep the configuration as simple as possible, and only introduce the features and functionality based on the initial customer requirements.
Accessing Orchestrator
Where do I go to begin?
The first step in bringing up your EdgeConnect SD-WAN network is to login to your Orchestrator. The Orchestrator comes in two different flavors,
Orchestrator-as-a-Service - Recommended
Orchestrator-as-a-Service (OaaS) is hosted by HPE Aruba Networking as a service within our cloud infrastructure.
OaaS is fully managed for you, so configuration backups, resource allocations, and monitoring is all handled dynamically and elastically within our cloud infrastructure. Upgrades can be handled via a self service menu within the Orchestrator UI itself.
Self-Hosted
Self-Hosted Orchestrators can live as a virtual; machine either on premises, such as in your datacenter, or in you own VPC within the Public Cloud (AWS, Azure, GCP, OCP, etc.)
Self-Hosted Orchestrators must be managed by the customer, all life cycle management of the underlying Linux OS (patches, updates, etc), and Orchestrator Database backups, must be handled by the end customer. During the initial installation of the Self-Hosted Orchestrator you will be prompted to create local OS level admin and root credentials. Save these credentials as they will be needed in the future for upgrades and maintenance of the Orchestrator VM.
Navigating Orchestrator
Help me, I’m blinded by the light!
Starting with Orchestrator 9.3+ a fully featured "dark mode" has been introduced. Click the "sun" icon in the upper right corner, left of username. Your optometrist will thank you.

"Toggle Dark Mode"
Finding Anything
When you are new to the Orchestrator UI it can be initially a bit tricky to remember which menu contains the items you are looking for. To avoid struggling, use the search menu. Start typing keywords you are looking for. (see example in time zone below)
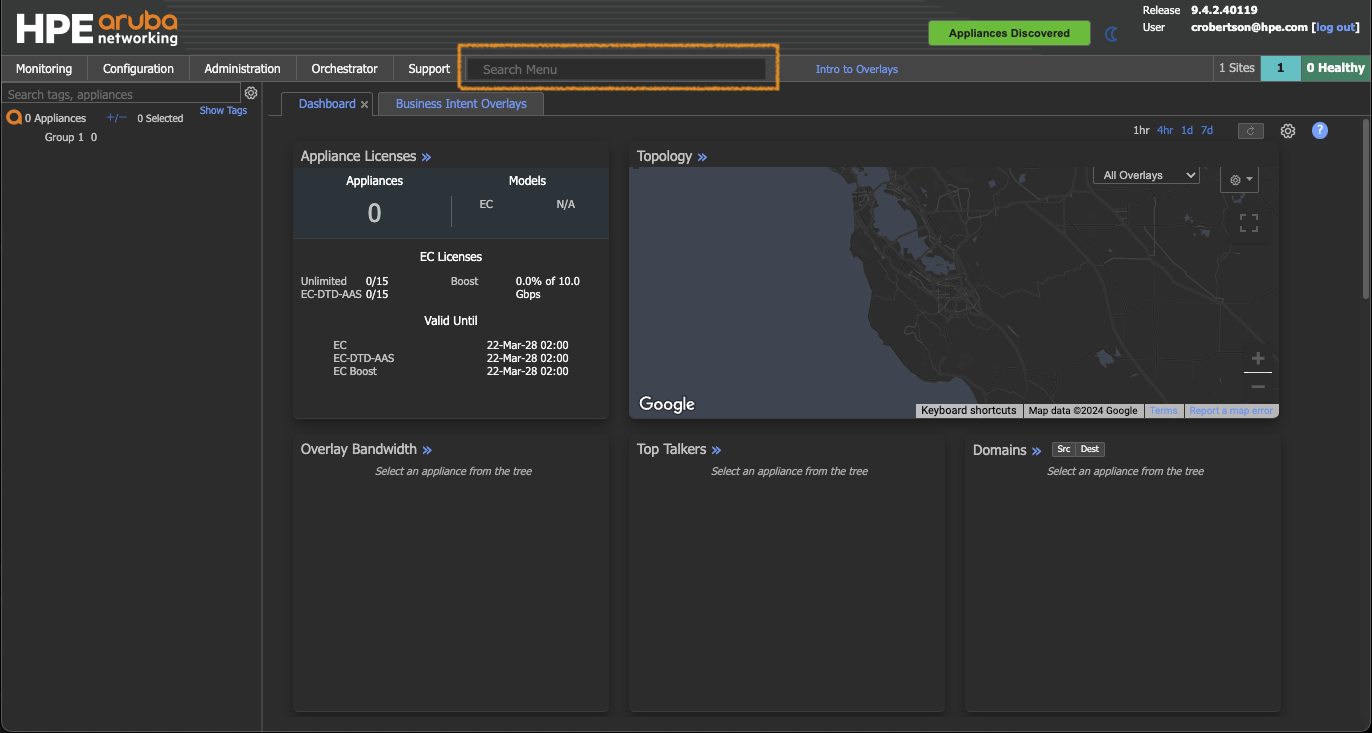
"Search Menu"
What does this button/screen do?
Throughout the product you will notice the "?" icon. This icon will link you to the context sensitive help documentation hosted directly within your Orchestrator.
For example, if you are on the Business Intent Overlay tab, clicking the "?" icon will open a new window with the help section for "Business Intent Overlays"

"Help Icon"
• Set up availability Time (optional but helpful)
o This tab lets you configure the business hours and time zone for each appliance. The orchestrator will collect availability data based on each appliance’s time setting.
o Select appliance(s) in the tree you want to set. Click custom or 24 hours, click save.

Best practice – Make all changes in Orch unless necessary.
• Do not drop to the Appliance Manager or CLI unless necessary
• All appliance-level changes should be handled via template unless it is on the deployment page.
Orchestrator > User Management
Add users here.

Add users
Leave password blank for new users added, Users will set a password with the link they click on in the welcome email.
NOTE: Selecting ALL or Nothing is the SAME in the tree. Having nothing selected means everything selected!
One device selected.
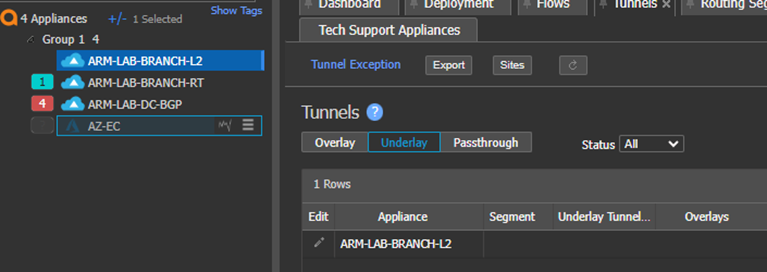
One appliance selected
• All selected
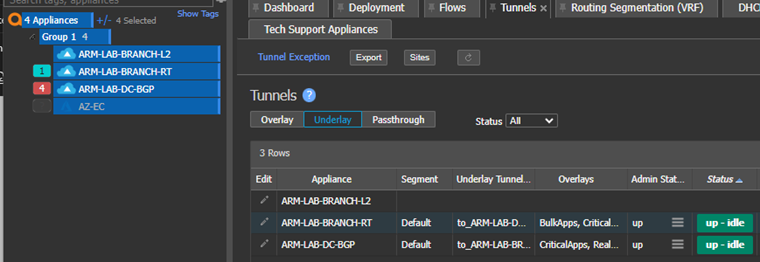
All appliances selected
• None selected. (same as all)
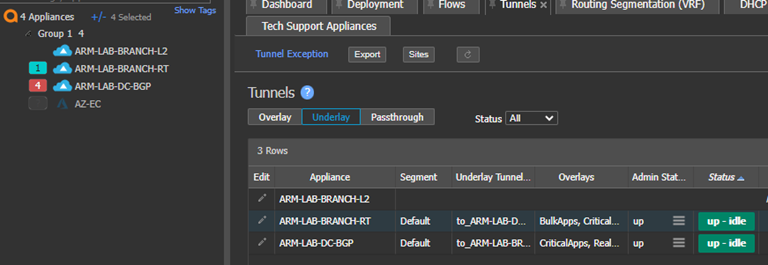
No appliances selected
What is this flashing “ETA”?
This means the Orch is pushing configs to the appliances:

You can Click the Blue to see status and prioritize an appliance.
Set/verify Time zone for jobs.

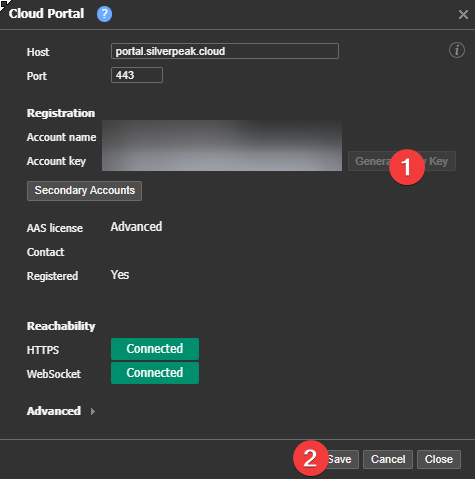
Cloud Portal
Generate new Account Key
The original Cloud key is emailed best security practice is to generate new key
Updated over 1 year ago
Great work, you are off to an excellent start. Now proceed to Orchestrator Backup.
