
Create ServiceNow Incidents from Central
Before you begin, ensure that you have a valid ServiceNow account. If you do not have a ServiceNow
instance, create an instance before you proceed with the steps described in following sections.
For more information on creating a ServiceNow instance, see the ServiceNow user documentation .
This workflow was validated on ServiceNow's Yokohama release ✅
Workflow
Complete the following steps to enable ServiceNow ticket creation from Central Webhooks:
- Create a Scripted REST API to Obtain a Webhook URL
- Authenticate using API Key (Token-based authentication)
- Create a Webhook with SNOW Webhook URL
- Configure Alerts to Notify via SNOW Webhook
Create a Scripted REST API to Obtain a Webhook URL
- In your ServiceNow instance, go to System Web Services > Scripted REST APIs.
- Click New. The REST API creation page is displayed.
- Provide a name and the API ID.
- Click Submit. The API is added to the list of REST APIs.
- Open the REST API you just created.
- To add a REST resource with header and query parameters, click New in the Resources tab. The
Scripted REST Resource New record page is displayed. - Provide a name for the resource.
- Select POST for the HTTP method.
- Clear the Requires authentication check box.
- In the Script section, add the following JavaScript, this will parse the data sent from the Central Webhook and create an incident from the details:
Alert Notifications with WebhooksFor details on the structured data sent from Central refer to the Alert Notifications with Webhooks guide.
(function process( /*RESTAPIRequest*/ request, /*RESTAPIResponse*/ response) {
    // Uncomment the following line for debugging purposes
    //gs.debug("MESSAGE RECEIVE");
    var body = request.body.dataString;

    var low_severities = ["Minor", "Info"];

	event = JSON.parse(body);
	// Process the event and create an incident in ServiceNow
	var inc = new GlideRecord('incident');
	inc.initialize();

    // Set the short description to the event name and include the alert ID for reference
	inc.short_description = event.name;
    inc.short_description += " ALERT ID: " + event.alertId;
	inc.state = 1;

    // Set impact and urgency based on severity
	if (low_severities.includes(event.severity)) {
		inc.impact = 3;
		inc.urgency = 3;
	} else if (event.severity == "Major") {
		inc.impact = 2;
		inc.urgency = 2;
	} else if (event.severity == "Critical") {
		inc.impact = 1;
		inc.urgency = 1;
	}

    // Build the description with all relevant event details
	inc.description = event.summary;
    inc.description += "\n\nCategory: " + event.category;
    inc.description += "\n\nState: " + event.state;
    inc.description += "\nDevice Type: " + event.deviceType;
    inc.description += "\nSeverity: " + event.severity;
    inc.description += "\nTime: " + event.time;

    // Include impacted device serials and client MACs if available
    if (event.impactedEntities && event.impactedEntities.deviceSerial && Array.isArray(event.impactedEntities.deviceSerial)) {
        inc.description += "\n\nImpacted Device Serials:";
        for (var i = 0; i < event.impactedEntities.deviceSerial.length; i++) {
            inc.description += "\n" + event.impactedEntities.deviceSerial[i];
        }
    }

    if (event.impactedEntities && event.impactedEntities.clientMac && Array.isArray(event.impactedEntities.clientMac)) {
        inc.description += "\n\nImpacted Client MACs:";
        for (var i = 0; i < event.impactedEntities.clientMac.length; i++) {
            inc.description += "\n" + event.impactedEntities.clientMac[i];
        }
    }

    // Include any additional details if present in the event
    if (event.additionalDetails && Array.isArray(event.additionalDetails)) {
        inc.description += "\n\nAdditional Details:";
        for (var i = 0; i < event.additionalDetails.length; i++) {
            var detail = event.additionalDetails[i];
            for (var key in detail) {
                inc.description += "\n" + key + ": " + detail[key];
            }
        }
    }

  // Only if state does not equal Cleared, Insert the incident record into ServiceNow
	if (event.state != "Cleared"){
		inc.insert();
	}


	response.setStatus(200);
	response.setBody({
		status: "success"
	});

    // Uncomment the following lines for debugging purposes to see the incoming request body and headers
	// gs.debug(JSON.stringify(body));
	// gs.debug(JSON.stringify(request.headers));

})(request, response);
Authenticate using API Key (Token-based authentication)
Once the Webhook endpoint has been created, it's time to setup authentication:
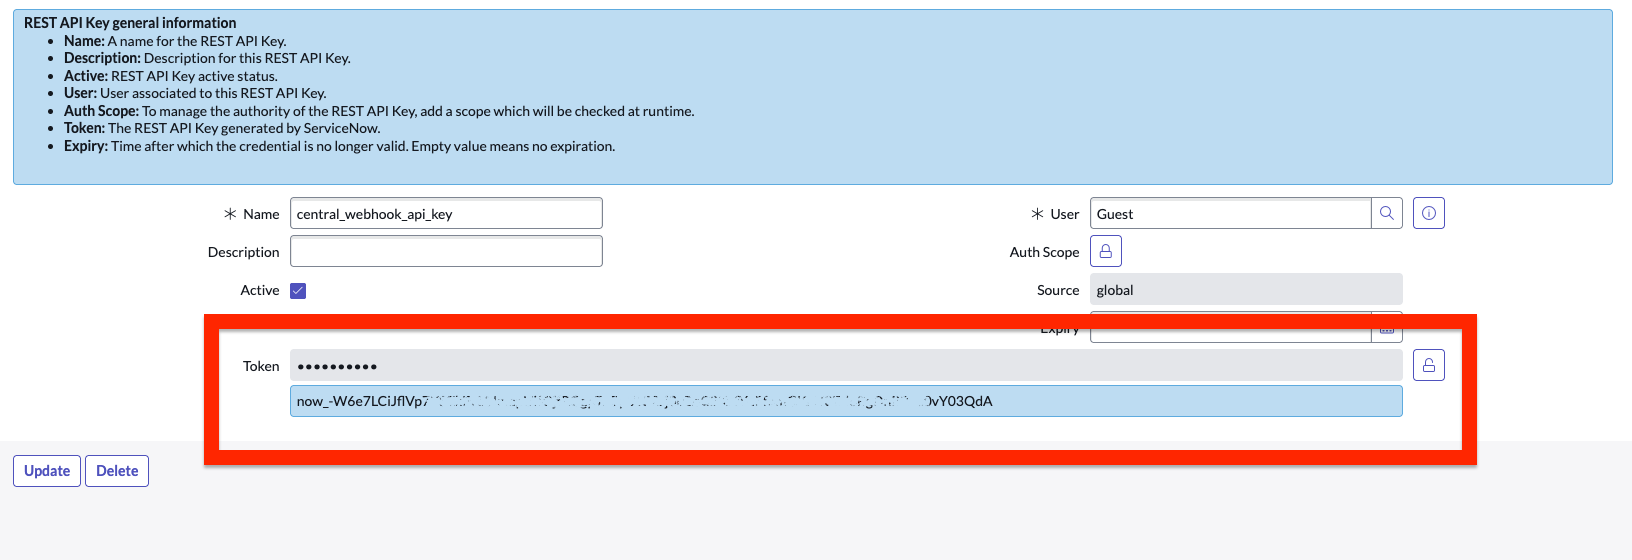
- To authenticate using an API key, follow ServiceNow's Documentation on How to Configure API Key .
- You'll need to define an "Auth Parameter" to specify the specific Auth Header that ServiceNow will check for the generated API key. For Central the header is
Authorization: - Once you've completed creating an API Key, copy the resulting token provided, this will be the API Key you define when Creating a Central Webhook :
Create a Webhook with SNOW Webhook URL
Now that the Webhook URL and API key has been generated by ServiceNow, follow the below steps to :
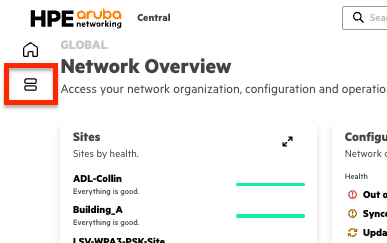
- On the HPE Aruba Networking Central landing page or in the MSP Global Overview page , select the Menu icon from the left-side panel.
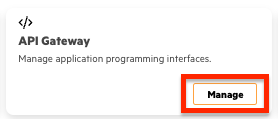
- Select Manage in the API Gateway card
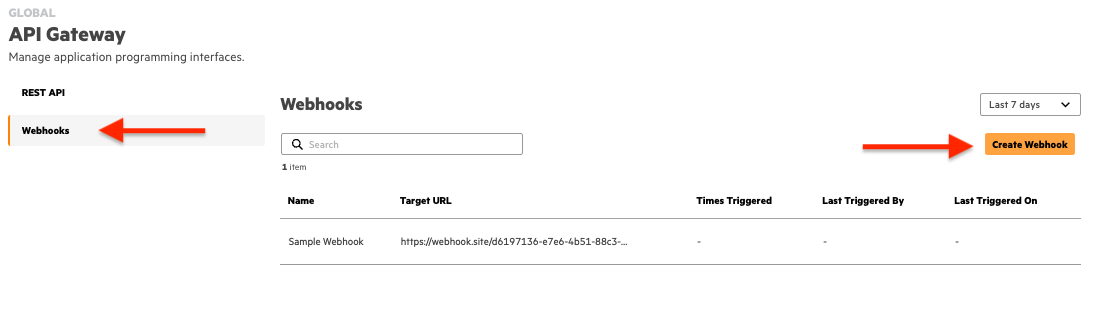
- Select Webhooks from the side navigation pane then select Create Webhooks in the upper right corner.
- Configure the following information:
- Name — Name of the Webhook
- Target URL — This will be the URL [generated by ServiceNow](#
- Authentication Method — Select any one of the authentication methods provided:
- API Key — An API key is a unique identifier used to authenticate Webhook requests between systems. When a Webhook is triggered, the API key is included in the request header as an
authorizationBearer token, ensuring secure communication between the sender and the receiver. - OIDC — OpenID Connect (OIDC) authentication is an identity layer built on top of the OAuth 2.0 protocol that enables secure authentication of Webhook requests. On selecting OIDC as the authentication method you must provide the Client ID, Client Secret, and Well-known URL.
- API Key — An API key is a unique identifier used to authenticate Webhook requests between systems. When a Webhook is triggered, the API key is included in the request header as an
- Select Create and the Webhook will now appear within the table. Additionally, upon creation, users will be presented with the HMAC secret token which can be used by applications to authenticate received Webhook messages.

Configure Alerts to Notify via SNOW Webhook
In order for ServiceNow to receive Alert notifications, you need to enable the delivery of Alert Notifications to be via Webhook:
- Select the Menu icon from the left-side panel.
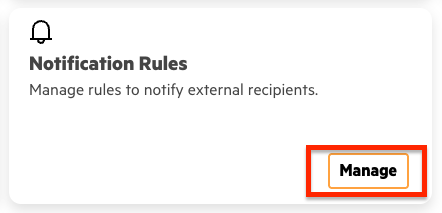
- Locate the Notification Rules card and select Manage.
- Select Create Rule in the upper right corner.

- In this view you'll be presented with two options for configuration: Select Alerts and Minimum Alert Severity. Select the check box for each Category, Device Function, and Alert you want to be notified. The selection for Minimum Alert Severity will include that severity and any higher precedent level, i.e. selecting "Minor" will result in alerts being sent for Critical, Major, and Minor severities, but not Info.
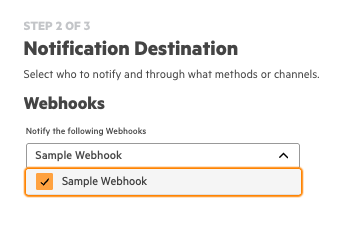
- Next you'll select the Webhook previously created with the ServiceNow URL:
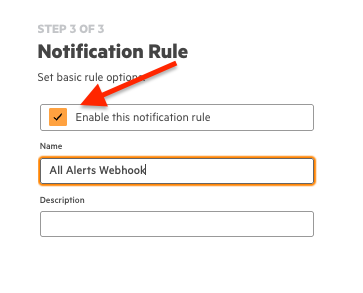
- Finally ensure that "Enable this notification rule" is selected, provide a Name and a Description (optional), then select Finish in the bottom right corner.
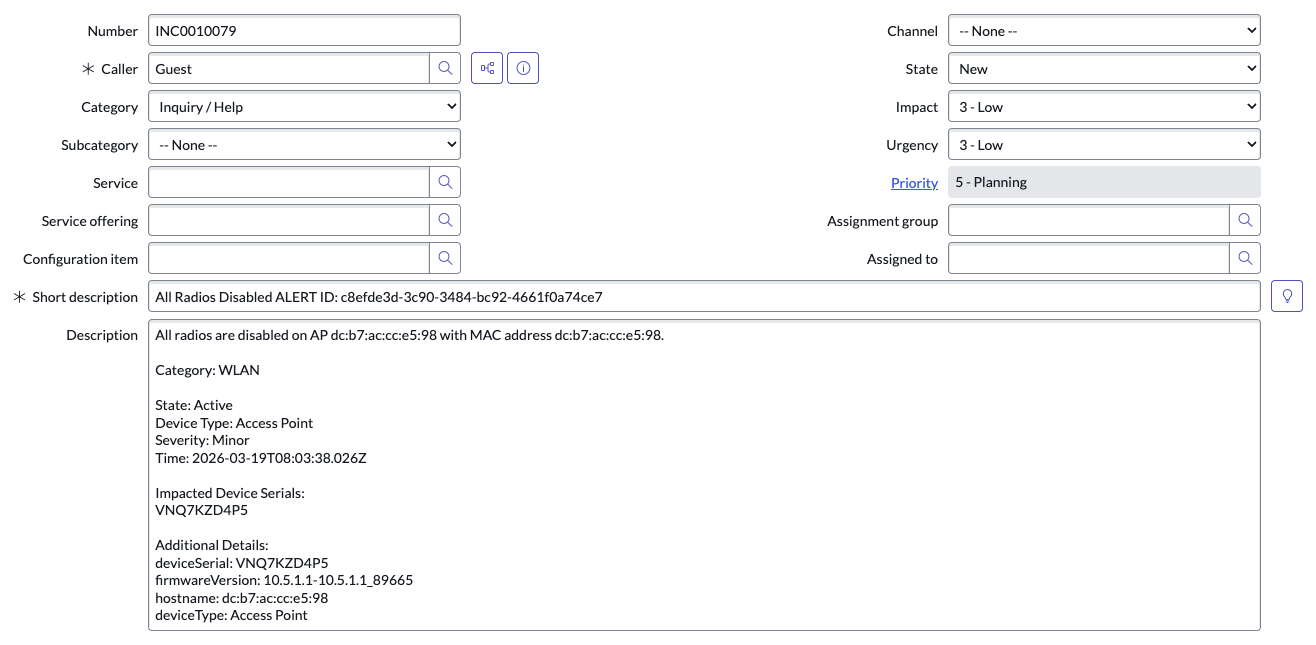
Example Output
Alert in Central:
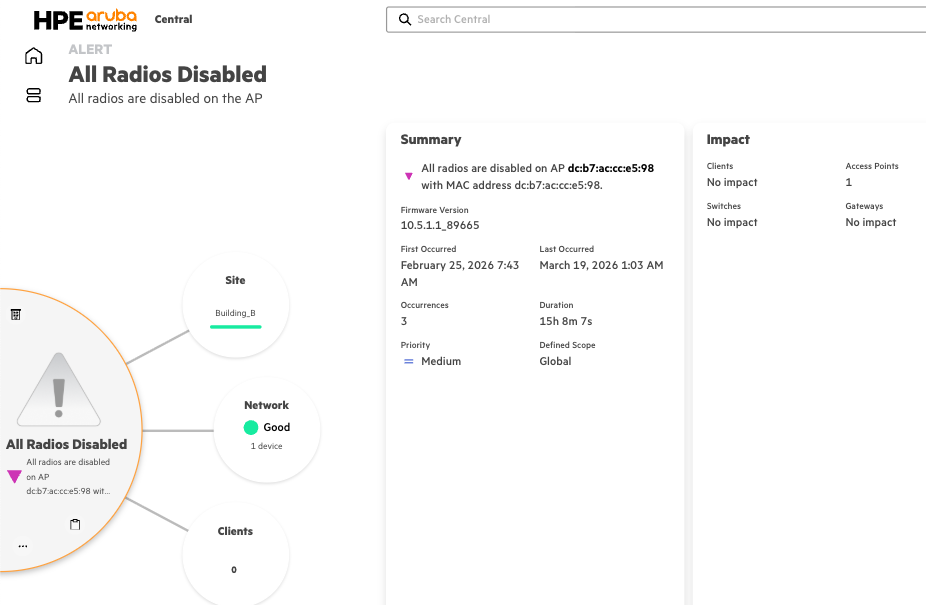
Incident in ServiceNow:
Updated 28 days ago